Last year we redid the girls/guest bathroom but didn't finish it till this week and I am also LOVE IT!!! I love the tile work in the shower and on the floor, the colors, the wainscoting (one going vertical and the other one going horizontal), a deeper tub, we got rid of that big cabinet above the toilet, and we now have a smaller vanity with sink to make more space. I wish you could see how great this teeny, tiny bathroom, it looks AMAZING.
Tuesday, April 2, 2013
TV Room, Laundry Room and Small Hallway
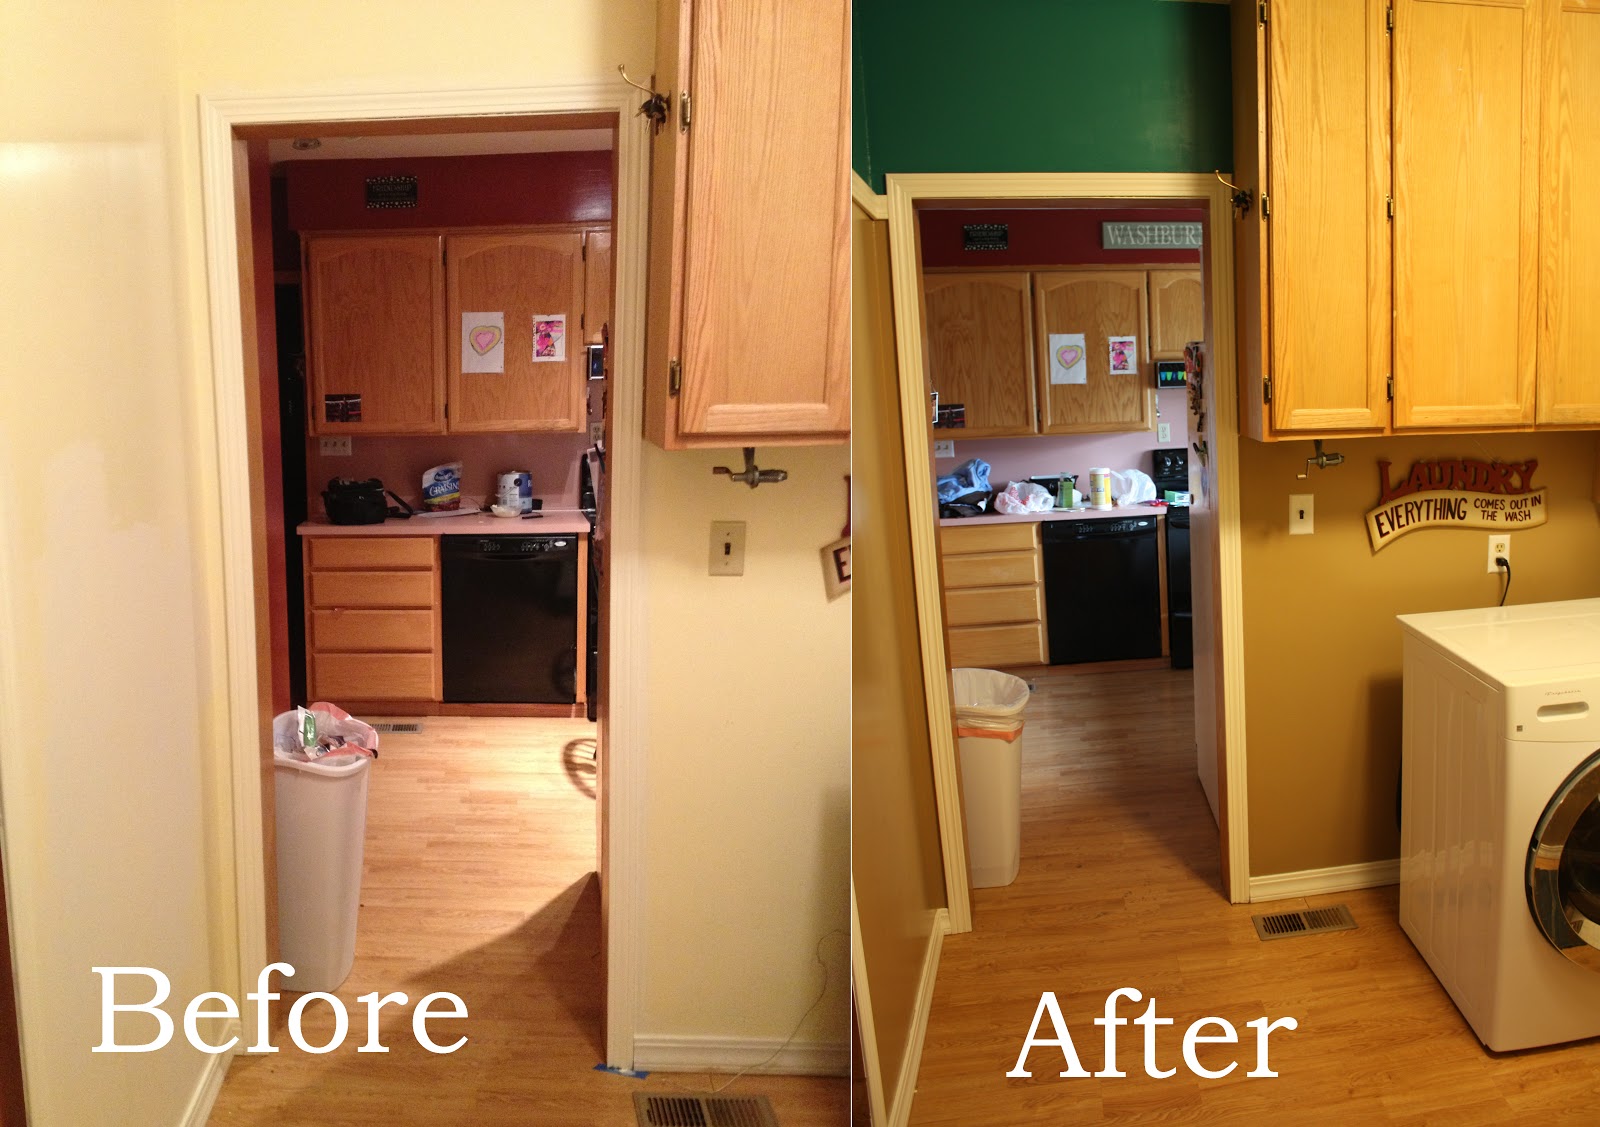
Since we moved in 2.5 years ago I've been doing painting jobs on and off. I knew that these three rooms would be the biggest painting project of the whole house since they all connect and I knew that I wanted to do something BIG. After looking around I came up with this and I have to be honest, I LOVE IT!!! It came out really good, now this house is starting to feel more like me and a home.
Thursday, February 21, 2013
I am a Child of God
Our Stake Primary Presidency is giving these cute little I'm a child of
God mirrors to the primary children. One of the counselors asked me to
make the stickers that go on the inside and the back. You can print them
off on labels that you can get at Wal-Mart label number 5163. For the PDF templates go here Inside Template and Outside Template.
Monday, February 4, 2013
Saturday, January 26, 2013
Wednesday, January 16, 2013
Tuesday, January 15, 2013
Daily Nutritional Food Tracker
You can buy it here at my Etsy Shop for $2.00.
Monday, January 14, 2013
L's Birthday Invites (Hotel Transylvania)
My little L is turning 8 this month, I can't believe it. We are renting the movie theater here town and watching Hotel Transylvania. Looked for a cute invitation idea, after seeing a few I came up with this, I think they came out pretty cute.
The Plan of Salvation
Next month for YW we will be learning about the Plan of Salvation. Found this poster a couple years ago, changed a few things to it that I thought it needed and had it printed at Costco in a 20x16. For the free PDF file go here.
Sunday, January 13, 2013
Chocolate Scotcharoos
Made these SUPER YUMMY Chocolate Scotcharoos for mine and E's Church
classes tomorrow. This is the first time I made them and they are
sooooooo easy and soooooooo good. Thanks C for giving me the recipe,
recipe below:
Ingredients
- 1 cup light corn syrup
- 1 cup sugar
- 1 cup peanut butter
- 6 cups Rice Krispies cereal
- 3/4 cup butterscotch chips
- 3/4 cup chocolate chips
Instructions
- Pour Rice Krispies into a large bowl and set aside.
- Bring peanut butter, sugar and corn syrup to a boil.
- Pour Rice Rrispies over mixture and mix well.
- Press into a greased pan, I used a cookie sheet.
- Melt chocolate and butterscotch chips together and mix well.
- Spread over the top of the mixed cereal.
- Cool, cut and then serve. Hope you like them!
Saturday, January 12, 2013
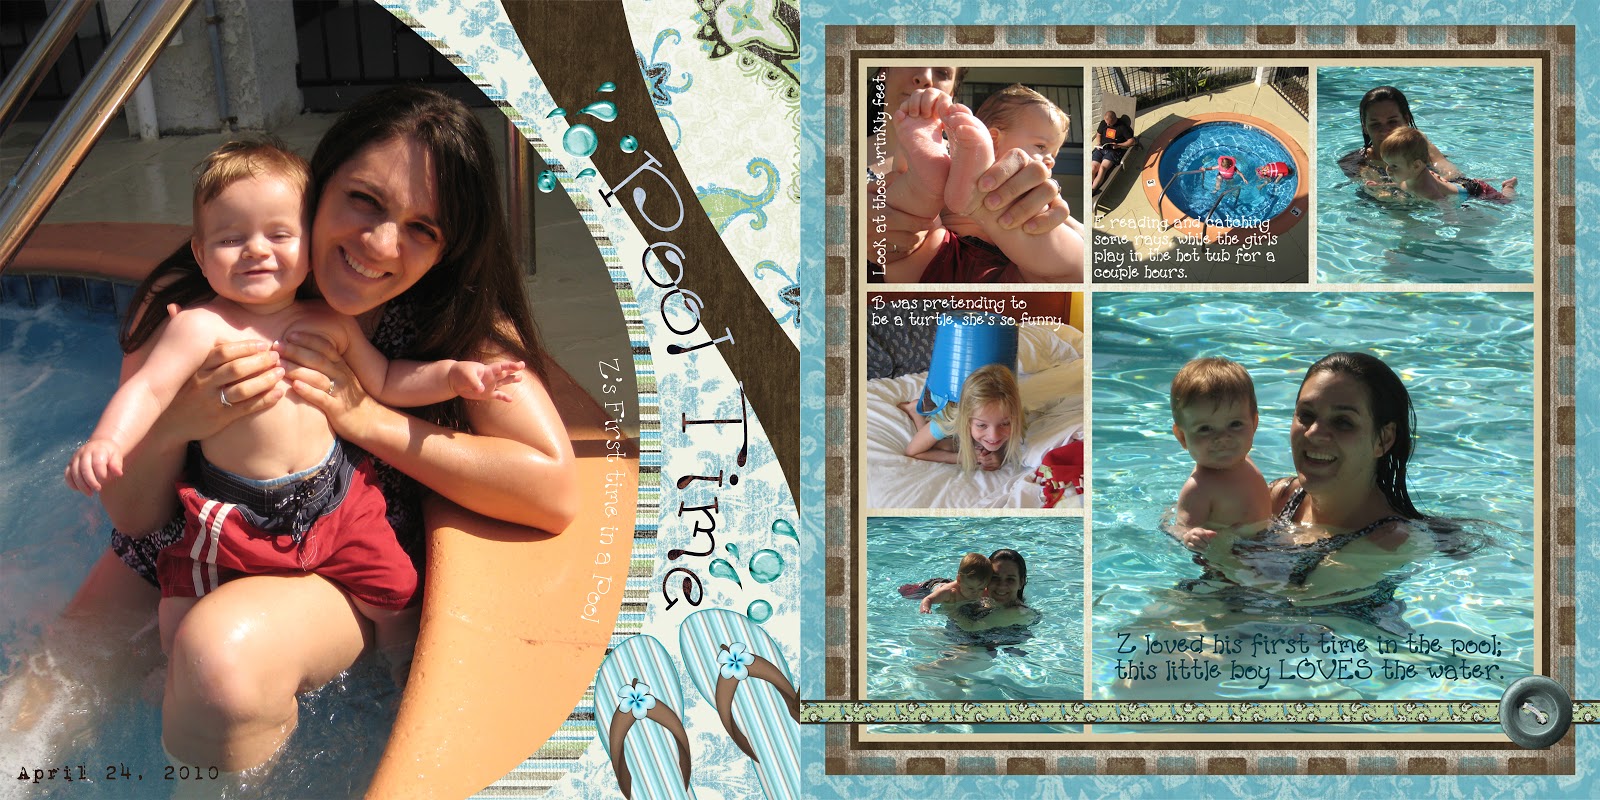
Scrapbook Week 2
One of my New Year's Resolutions is to get as least one scrapbook layout done per week. I started off the year bad already and missed week one, so here is week 2. These are from 2010, I'm REALLY BEHIND, like 7-8 years. So if I do at least one layout a week I should be caught up in about 3 years, HAHAHA we'll see.
Sunday, January 6, 2013
Young Women Birthday Gifts in a Can
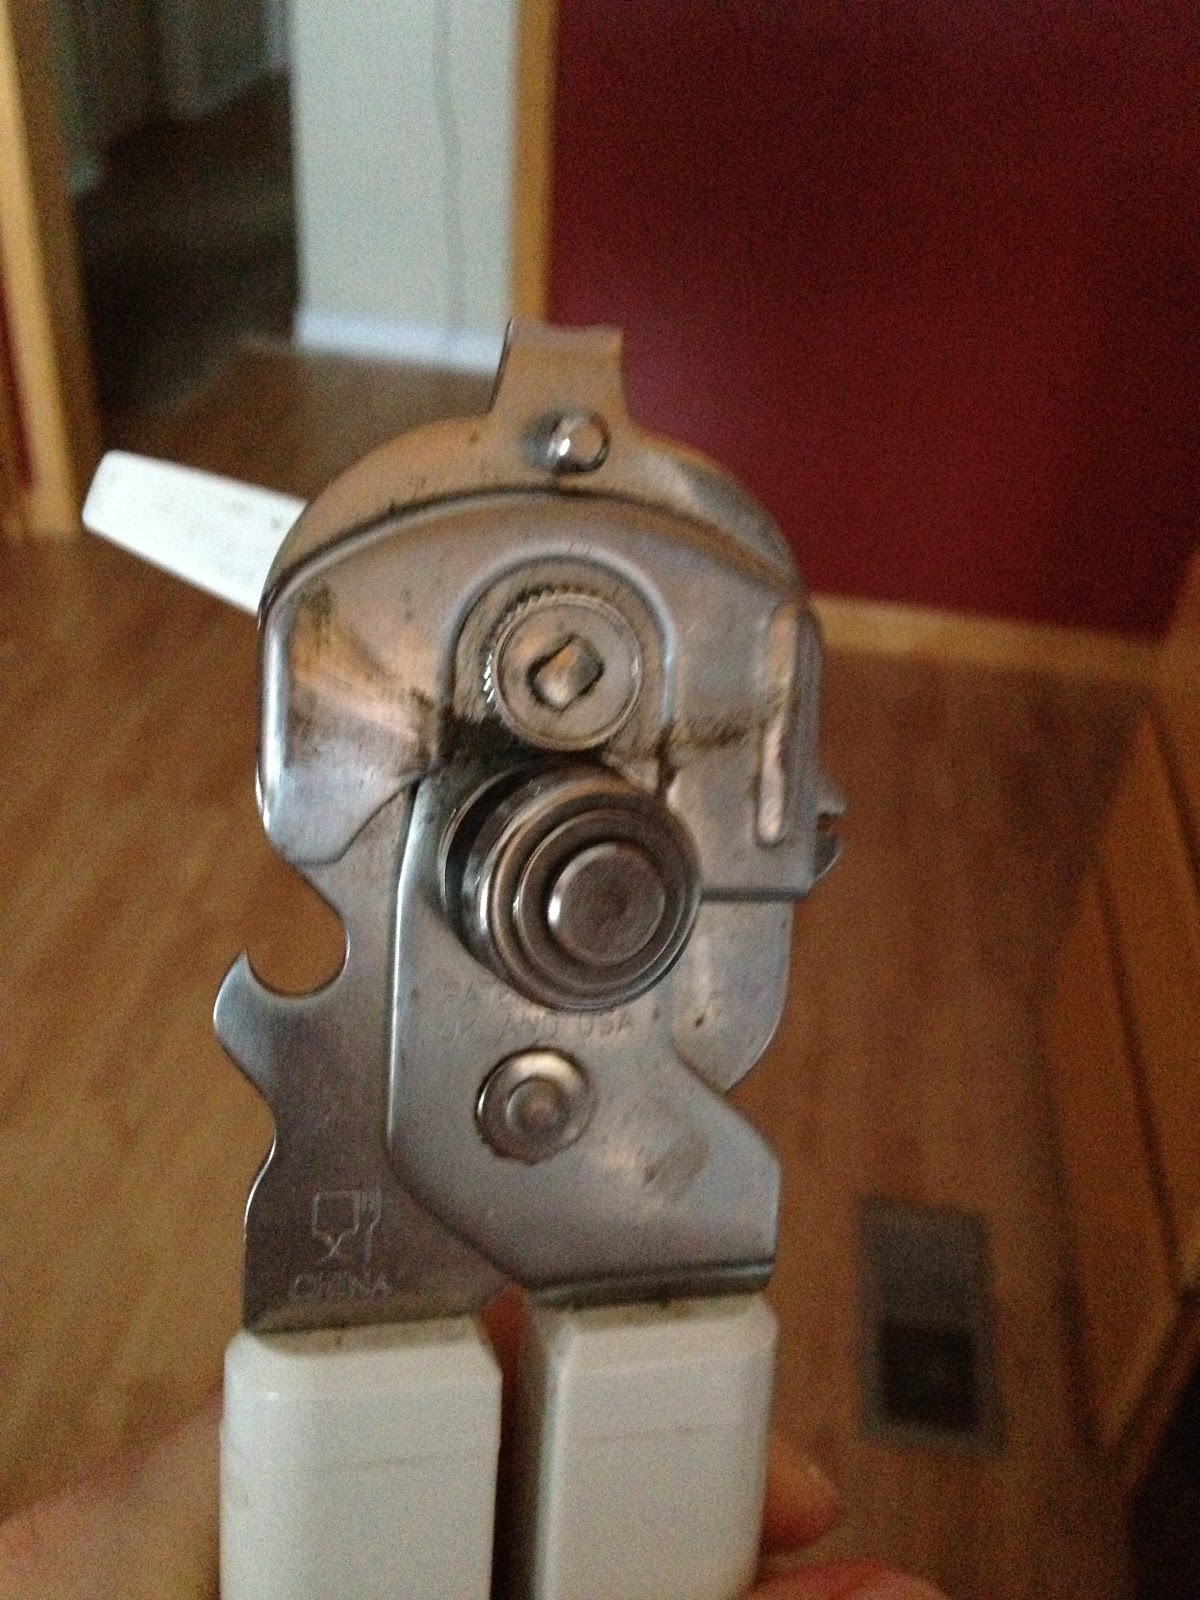
1) I opened the can from the bottom with one of those newer can openers (like the one to the right, man that thing is dirty, sorry all).
2) Take the food out.
3) Take can label off and wash the can.
4) Put the gift inside (Temple Recommend Holder & Candy).
5) Reseal the can (with any kind of Super Glue).
6) Put the new label on and there’s the gift.
7) UPDATE: make the cans as you need them. We discovered that if the candy was in the can too long that it got a metallicy taste to them. Good luck :)
Hope the YW like them. For the label file go to my Etsy Shop HERE and buy it for $2.00.
Don’t forget to measure your can, the height and width and then adjust the label to match the can. I DIDN'T use a Campball Soup can, I used a bigger/medium size, a can that has the pull top (easy for the girls to open). I used the Wal-Mart brand can fruit with the pull top lids.
What I did for putting the names on the Can Label was I put the YW Birthday Label Picture in a Word document. Then I would put a Text Box over it with NO BOARDER and have it have a CLEAR BACKGROUND. Then I would just type the girls name in the text box. If you need more help just ask, happy to help :)
Don’t forget to measure your can, the height and width and then adjust the label to match the can. I DIDN'T use a Campball Soup can, I used a bigger/medium size, a can that has the pull top (easy for the girls to open). I used the Wal-Mart brand can fruit with the pull top lids.
What I did for putting the names on the Can Label was I put the YW Birthday Label Picture in a Word document. Then I would put a Text Box over it with NO BOARDER and have it have a CLEAR BACKGROUND. Then I would just type the girls name in the text box. If you need more help just ask, happy to help :)
2014 Theme
2015 Theme
Sunday, December 23, 2012
Stand Ye In Holy Places
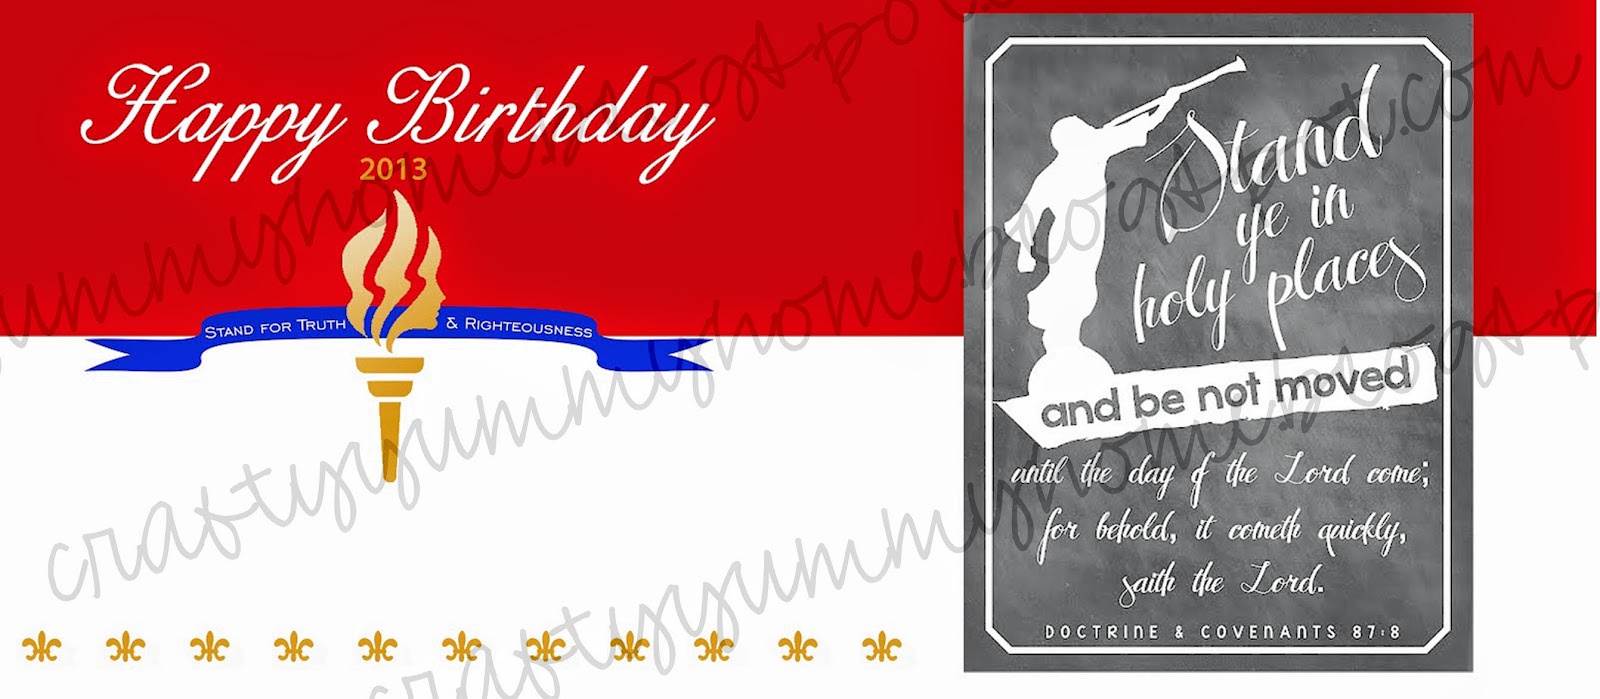
The 2013's Theme for the YW is "Stand Ye in Holy Places". We (the YW leaders) saw this on this website, LOVED IT and wanted to print them off in a larger size (12x16) for all the Young Women, but the picture on Little Miss Suzy's site was only 72 pixels, in other words when I enlarged the photo it came out fuzzy. So I found the original picture on her site and did my own version (side note- Miss Suzy has a release form on her site just in case Costco or wherever you have them printed ask for it, I recommend that you print it off). We handed them out today and the YW seemed to really like them. I ordered them in 12x18 and they ONLY cost $2.99each at Costco. The picture's resolution is only 200 pixels
on this site, for the free PDF file that is 600 pixel go here.
Wednesday, December 19, 2012
We Seek After These Things
I made these Temple Blocks for the YW in my Beehive class. Next years theme is 'Stand Ye in Holy Places', so I thought this would be a great Christmas gift. Below (2nd to the bottom) is the picture and I just bought a 4x2x12, cut it, sanded it, painted it, then glued the picture to it (I painted the blocks black, but they look green in the pictures). FYI, a 4x2 is NOT 4 inches by 2 inches, it's more like 3.5inch (I didn't know this till a friend told me, good thing before I printed off the pictures). I uploaded the original picture and ordered it from Costco in a 12x18 (the sheet of pictures on the WAY bottom with 9 pictures on it) the 12x18 ONLY cost $2.99 at Costco. In the picture below (the one for Costco) the resolution is only 200 pixels on this site, UPDATE: for go to my Etsy Shop here to buy the file for $1.00. (the file second from the bottom.)
Friday, July 13, 2012
Fishing Pond Tickets
We are going to a Family Reunion, while up there we will be
having a Birthday Party for everyone with a cake, games and gifts. For the
grandkids we are having a Birthday Present Fishing Pond, which I’m in charge
of. So to know which kid is on the other side of the sheet I printed up these
tickets to know who it doing the fishing. I’ll post pictures and more details
later.
Tuesday, June 26, 2012
Tuesday, February 7, 2012
My Girls Valentine Day Cards
Here are the My Girls Valentine Day Cards; we are going to glue them to a pack of Pop Rocks. I LOVE doing personal V-Day Cards.
Friday, February 3, 2012
Guess Who?
A few years ago our family went to visit some of my husband family and one of his cousins made this game for her family. Thought it was very cool and had to do it at Christmas gifts. Everyone liked it and they came out pretty awesome I think.
- Open the box and take the cards out.
- Measure the cards. I came up with this measurements- Red and Blue are 1.1 inches wide x 1.4 inches tall and the Yellow are 1.4 inches wide x 2 inched tall. You’ll need to know these measurements for PhotoShop or whatever photo program you have.
- In PhotoShop I made up a 3 New Blank File with the sizes above ((2) 1.1x1.4 and (1) 1.4x2). Filled them with the 3 colors, put our names on the bottom and put an already cropped picture above the name, (make sure the name matches the picture, or maybe that would be a new fun game)
- Made up some more New Blank Files, I needed 4, I used 2 8x10, 1 5x7 and 1 4x6, you might need more if you have a bigger family than mine. After you have made up a Red, Blue and Yellow card for everyone you’ll want to make up sheets to be printed.
- 5 and 6 are the same. Here are the sheets after I had them printed at Costco. You’ll want to cut each card out and make sure that you cut on the line, if you cut a little on the inside that will be OK but make sure there is no white left or the picture won’t fit in the game slots.
- So I only did this for my game because I didn’t have enough of the games yellow cards to glue my game card onto. I wanted the back of the card to have the yellow with the red ? mark. There are only 24 slot in the game so if you have more people in your family like I do you have 2 choices, you can make up your own yellow question mark back card or just leave it white like I did for my family. Also I didn’t even think of doing this till I worked on mine. Side Note and this is a big one- ONLY glue backs to the yellow cards.
- Laminate your cards. You don’t have to do this but I did since all the families I made these for have little ones laminating the cards will protect the pictures and make them last longer.
- Make sure you space the cards so that they don’t overlap.
- What the laminated sheets look like. now cut all the game cards again and make sure you don't cut the cards on the inside or you'll have to laminate again.
- When you put the Red and Blue cards in the slots put a colored cards that came with the game and your picture together with one side being your family members face and the other side being a question mark. By doing this it will look better than just having a white back. The reason you don’t glue the red and blue card together before laminating is because if like me you have a big family, you’ll be taking the pictures in and out depending on which family members you want to play.
And there you go, there is a TON of cutting and takes a bit of time. I spent about 1.5 hours on each game but it was very much worth it and my kids love to play our family Guess Who game. If you have any questions just leave a comment and I’ll get back to you. Also I was thinking that I MIGHT make these for people for their families if they like, they would just email me their family pictures with names and I can put these together. The price would be $50.00 per game for 24 people, $1.00 for each additional person.
Subscribe to:
Posts (Atom)